Selecting and Applying a Checklist After Upload
Last updated: October 10, 2025
Background
After uploading and crunching a document in Document Crunch, you may want to add one or more checklists to guide your contract review process. Checklists help ensure comprehensive analysis by organizing key provisions and issues that need review. You can apply multiple checklists to a single crunch at any time, allowing you to customize your review process based on your company's workflows and priorities.
Things to Consider
Checklists can be added to your crunch at any point after the document has been uploaded and processed
You can apply multiple checklists to a single crunch to cover different aspects of your review process
Different checklists may be available depending on the type of document you've crunched
Steps for Selecting a Checklist
Navigate to a crunched document in your account and click to open
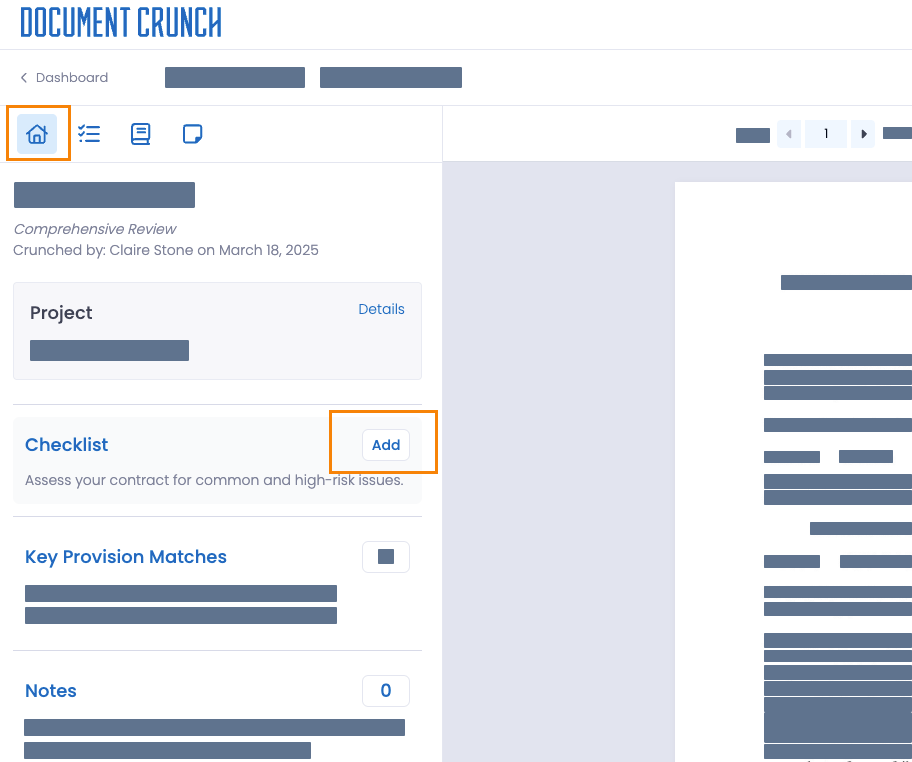
Method 1: Adding a Checklist from the Home Tab
In the left panel of the home page, locate the "Checklist" option and click the Add button.
A dropdown menu will appear, displaying the available checklists. Select the checklist you wish to apply.
To add multiple checklists, repeat the process. You can add as many checklists as needed.
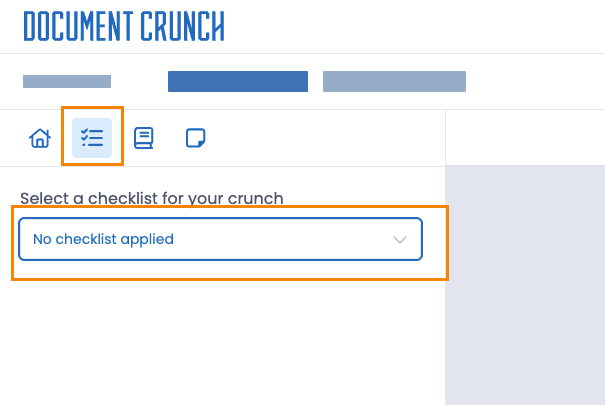
Method 2: Adding a Checklist from the Checklist Tab
Click on the checklist icon and then select the No checklist applied box
From the dropdown menu, click on your desired checklist to add it to the crunch.
To add another checklist, click on the caret icon (^) next to your current checklist name, and select + Add checklist(s)

By following these steps, you can effectively select, apply, and manage checklists for your crunched documents.