How to Manage Checklists on your Crunch
Last updated: January 12, 2026
Note: Video content may not reflect the most up-to-date interface
Background
Whether you have an updated checklist you would prefer to use on an existing crunch, or you would like to apply a different checklist all together, the following article will detail how you can remove and reapply a checklist to your document.
Things to Consider
You will need to be a Admin, Team Editor or Project Editor
Know the document type assigned to the crunched document.
Know what checklists have been assigned to each document type.
Checklists are specific to document types. If a desired checklist is unavailable, it may be linked to a different document type.
Multiple checklists can be applied to a single crunch.
Steps
To delete your currently applied checklist, navigate to the checklist, click the three dots to the right of your checklist name within the checklist tab, and select Delete
Note: Deleting the checklist will delete all data and notes within it. This action cannot be undone.

To re-add a checklist to your crunch, you can proceed with one of the following options:
Adding a Checklist from the Home Tab
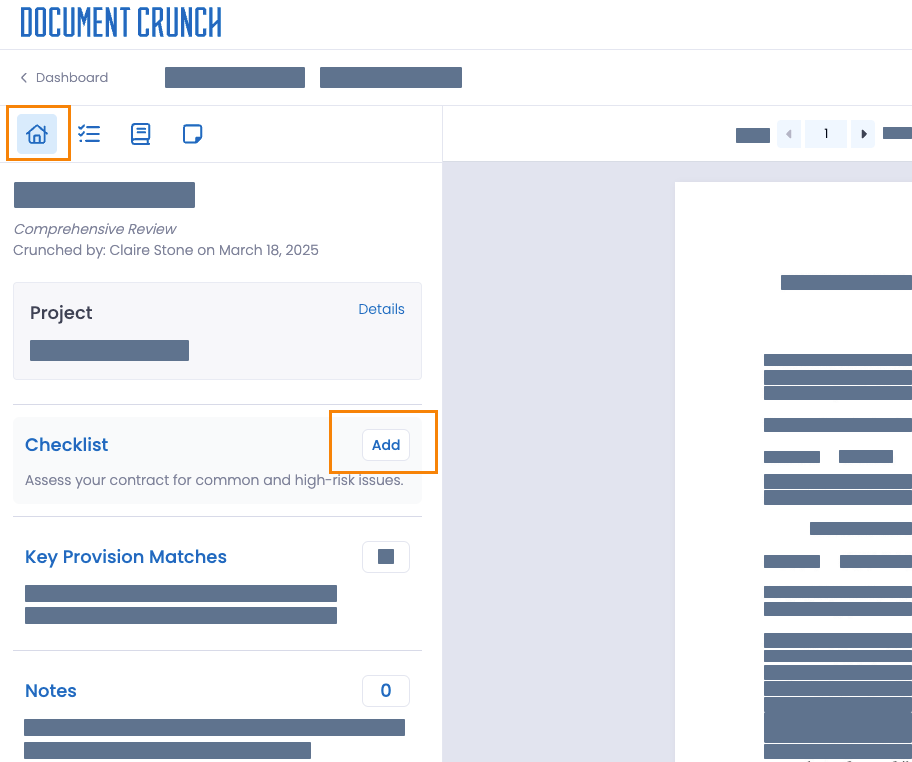
In the left panel of the home page, locate the "Checklist" option and click the Add button.
A dropdown menu will appear, displaying the available checklists. Select the checklist you wish to apply.
To add multiple checklists, repeat the process. You can add as many checklists as needed.
Adding a Checklist from the Checklist Tab
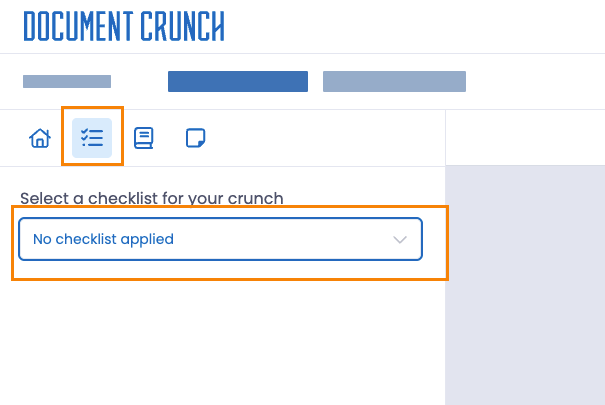
Click on the checklist icon and then select the No checklist applied box
From the dropdown menu, click on your desired checklist to add it to the crunch.
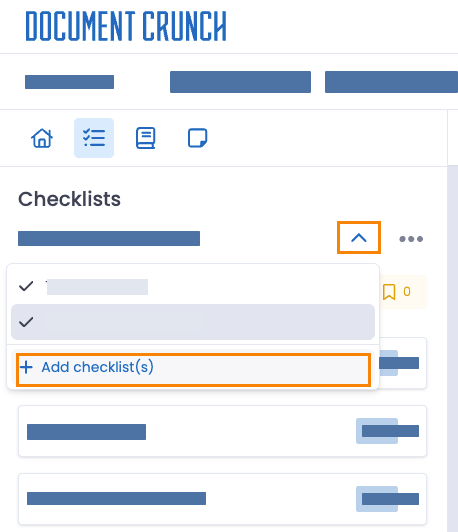
To add another checklist, click on the caret icon (^) next to your current checklist name, and select + Add checklist(s)
Once the checklist is applied, the system automatically begins generating responses. This process typically takes a few minutes to complete.